To change the password in XAMPP, you need to follow these steps:
- Open the XAMPP control panel.
- Stop the Apache and MySQL services by clicking the “Stop” button for each.
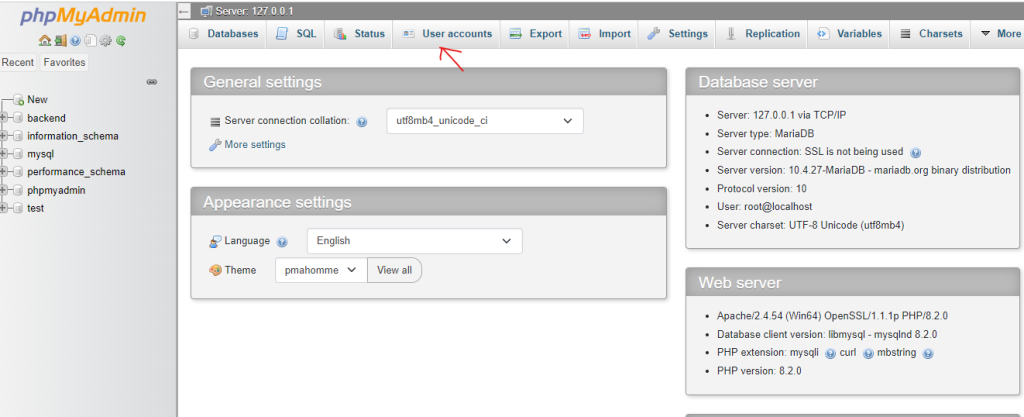
- Open a web browser and enter the following URL: http://localhost/phpmyadmin/
- This will open the phpMyAdmin interface.
Click on the “User accounts” tab.
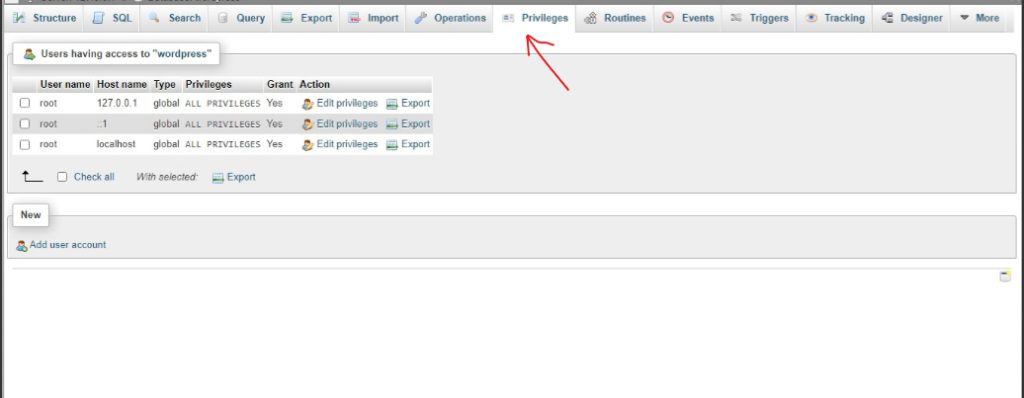
- Locate the user account for which you want to change the password and click on the “Edit privileges” link for that account.
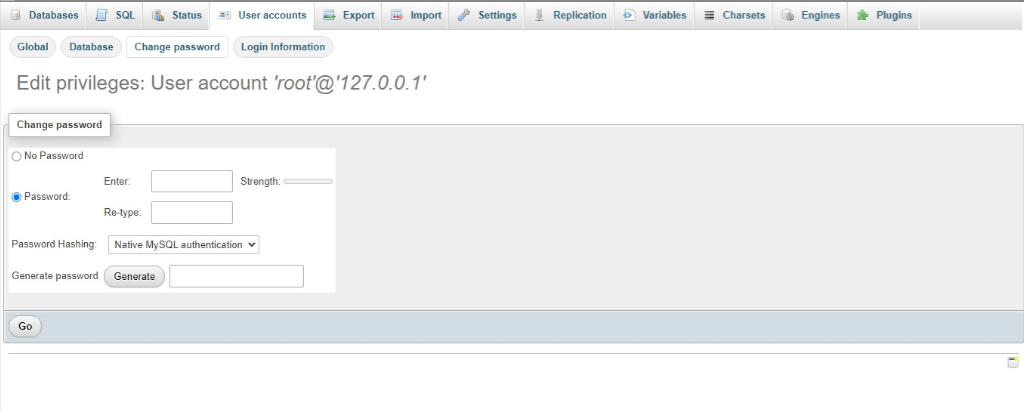
- On the user privileges page, scroll down to the “Change password” section.
- Enter the new password in the “Password” field.Select the appropriate option from the drop-down menu next to the password field (e.g., “Password has been changed”).
- Click on the “Go” button at the bottom to save the changes.
Restart the Apache and MySQL services in the XAMPP control panel by clicking the “Start” button for each.

I’m Abhishek, a DevOps, SRE, DevSecOps, and Cloud expert with a passion for sharing knowledge and real-world experiences. I’ve had the opportunity to work with Cotocus and continue to contribute to multiple platforms where I share insights across different domains:
-
DevOps School – Tech blogs and tutorials
-
Holiday Landmark – Travel stories and guides
-
Stocks Mantra – Stock market strategies and tips
-
My Medic Plus – Health and fitness guidance
-
TrueReviewNow – Honest product reviews
-
Wizbrand – SEO and digital tools for businesses
I’m also exploring the fascinating world of Quantum Computing.
Best Cardiac Hospitals Near You
Discover top heart hospitals, cardiology centers & cardiac care services by city.
Advanced Heart Care • Trusted Hospitals • Expert Teams
View Best Hospitals
[…] https://www.devopsconsulting.in/blog/how-to-change-database-password-in-xampp/ […]