Add Column to Laravel Table Without Losing Data
Introduction
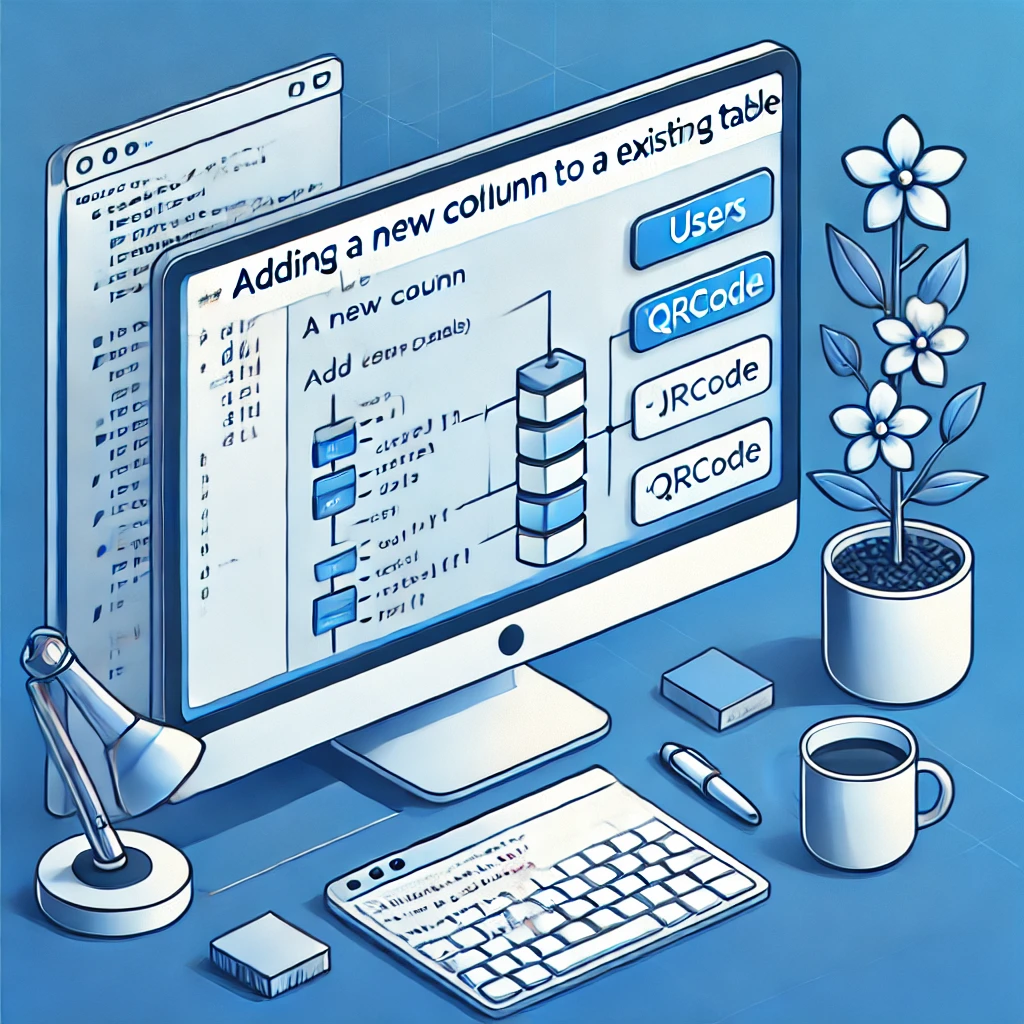
In this tutorial, we’ll guide you through the process of adding a new column to an existing table in Laravel 10 without losing any data. Whether you’re working with a table that’s already in use or one that’s newly created, Laravel provides an easy way to update your database schema seamlessly. This guide will focus on adding a Qrcode column to a users table, but the process applies to any table or column.
If You Haven’t Migrated Yet
If you have not yet migrated your database, you can include the new column directly in your migration file. Simply run:
php artisan migrateThis will create your table with all the columns specified, including the Qrcode column.
If You’ve Already Migrated Without the New Column
If you’ve already created and migrated your users table but now need to add the Qrcode column without losing data, follow these steps:
Step 1: Create a New Migration for Adding the Column
Run the following Artisan command to create a new migration file for adding the Qrcode column:
php artisan make:migration add_qrcode_column_to_users_table --table=users- This command generates a new migration file to modify the existing
userstable.
Step 2: Update the New Migration File
Next, open the newly created migration file in the database/migrations directory and update it with the following code:
use Illuminate\Database\Migrations\Migration;
use Illuminate\Database\Schema\Blueprint;
use Illuminate\Support\Facades\Schema;

class AddQrcodeColumnToUsersTable extends Migration
{
    /**
     * Run the migrations.
     */
    public function up(): void
    {
        Schema::table('users', function (Blueprint $table) {
            $table->string('Qrcode')->nullable()->after('driving_lic');
        });
    }

    /**
     * Reverse the migrations.
     */
    public function down(): void
    {
        Schema::table('users', function (Blueprint $table) {
            $table->dropColumn('Qrcode');
        });
    }
}
Explanation:
- The
upmethod adds theQrcodecolumn to theuserstable. - The
downmethod handles rolling back the migration by removing theQrcodecolumn if you ever need to revert this change. - The
->nullable()method ensures that this column can storenullvalues initially, avoiding potential issues with existing data.
Step 3: Run the Migration
Finally, apply the migration using the following command:
php artisan migrateThis command updates your users table, adding the Qrcode column without affecting existing data.
Why This Method Works
Laravel’s migration system allows developers to modify database tables incrementally, which means you can add columns without altering or losing existing data. This approach is ideal for projects where data integrity is crucial.
Verifying the Change
After running the migration, check your database using a database management tool (e.g., phpMyAdmin, MySQL Workbench) to confirm that the Qrcode column has been added successfully.
Additional Tips
- Backing Up Data: Always back up your database before running migrations, especially in a production environment.
- Testing: Run migrations on a local or staging environment first to ensure they work correctly.
Conclusion
Adding a new column to an existing table in Laravel 10 is a straightforward process that ensures data integrity. By following this guide, you can easily extend your database schema without worrying about data loss.

I’m Abhishek, a DevOps, SRE, DevSecOps, and Cloud expert with a passion for sharing knowledge and real-world experiences. I’ve had the opportunity to work with Cotocus and continue to contribute to multiple platforms where I share insights across different domains:
-
DevOps School – Tech blogs and tutorials
-
Holiday Landmark – Travel stories and guides
-
Stocks Mantra – Stock market strategies and tips
-
My Medic Plus – Health and fitness guidance
-
TrueReviewNow – Honest product reviews
-
Wizbrand – SEO and digital tools for businesses
I’m also exploring the fascinating world of Quantum Computing.
Best Cardiac Hospitals Near You
Discover top heart hospitals, cardiology centers & cardiac care services by city.
Advanced Heart Care • Trusted Hospitals • Expert Teams
View Best Hospitals